Guide to Low-Key Photography

 06/30/2025
by Michael McCarty
Founder, Tribeca Printworks
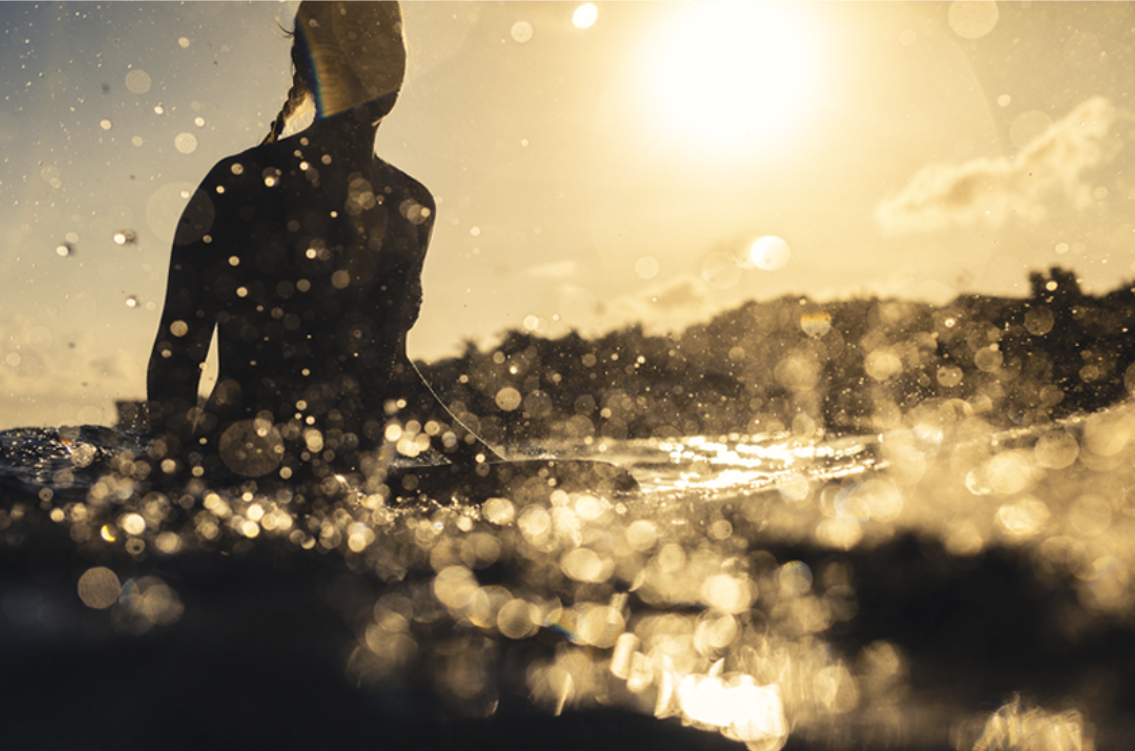
Low-key photography usually has a dark, dramatic quality. The images contain a strong contrast between darkness and light, emphasizing an enigmatic and mysterious atmosphere. Low-key photography can be dramatic and convey emotion. While a low-key image is usually dramatic and mysterious, a high-key image is often airy. High-key images are youthful, optimistic, simple, and upbeat, perfect for fashion, wedding, and newborn photography.
Low-key photography effectively adds depth, texture, and contrast, making it perfect for nature shots, portraiture, and animal photography.
The Artistic Philosophy Behind Low-Key Images
Low-key visuals became popular in the Renaissance and Baroque periods, which we can see in painting styles such as chiaroscuro and sfumato, used by artists including Leonardo da Vinci, Rembrandt and Caravaggio. Their paintings predominantly feature darkness with only one light source to create a dramatic scene. Yousuf Karsh is one of the most outstanding low-key portrait photographers of the 20th century.
Based on your subject and light intensity, a low-key photo can evoke different effects, such as elegance, fear, grandeur, mystery, and suspense. To get the best results from your low-key photography, consider illumination and elimination. Since only part of the image is visible, plan how the light should fall and control where it shouldn’t:
- Use a black backdrop.
- Keep your subject forward, and if you use an isolated light source, make sure it hits your subject the right way.
- Keep your ISO low to reduce noise and prevent the photo from taking on too much light.
If your background is visible, you can edit it using a brush tool or by darkening levels. This technique works for black-and-white photography or using a pop of color to bring low-key shots to life.
When to Use Low-Key Photography
Low-key photography is effective for:
- Low-key portraits: This technique captures dramatic expressions and enhances the body’s natural shapes. Highlighting the body form can also be helpful for shooting commercial fitness and health shots. Keeping large shadows can add depth to the figure, making muscles look larger and more defined.
- Dramatic still life: This style highlights the textures and shapes of objects, creating a sense of depth and mystery.
- Product photography: Showcase the form and details of products, often used for luxury or high-end items or food, to add richness and elegance.
- Abstract and fine art: When shooting abstract body shapes, consider manipulating low-key photography to help define and highlight shape and form and artistically celebrate the curves and lines of the body.
- Wildlife photography: In natural lighting, make sure the subject is softly lit in front of a dark, shadowed background. You can achieve low-key animal photography in post-editing if your depth of field is shallow enough to throw the background out of focus.
Low-Key Photography Lighting
Shooting side-view can create a more abstract image, especially if you can manipulate the light. Never allow light to reach the background or cast shadows on the subject’s face. To achieve high contrast in your low-key photo, side lighting your subject will work more effectively than front lighting. When using side lighting, use angles and light position to illuminate the part of your subject you want to highlight.
Most photographers prefer Rembrandt’s lighting style, in which a triangle of light forms catch light in the eye on the subject’s shadowed side. If you have an issue keeping the background dark, move the model and the light evenly away from the wall or move the light to the side.
You can also use a grid to restrict the light to what’s in front of it, only to prevent it from spilling into the background. Use light modifiers such as snoots and barn doors to shape and direct the light to create focused highlights.
Recommended Gear for Low-Key Shoots
You don’t need elaborate equipment to shoot amazing low-key images— a camera and a single light source are ideal. The camera settings depend on your preferences, although we recommend you start with a small F/number to capture the most light and adjust from there. It is best to use faster shutter speeds for low-key shots, especially if using triggers. You will need:
- Full-frame camera: A full-frame camera captures photographs with less noise and allows you to raise the ISO for more light and higher image quality.
- Fast lens: Although you can shoot low-key images with any lens, the standard f/3.5 aperture will not let enough light in for the best results, and you might need to rely on flash every time. Buy an affordable prime lens with an aperture of f/1.8, letting in four times more light.
- One light source: Reflect light off a wall or ceiling, or work with a diffuser to soften it.
Low-Key Photography Camera Settings and Exposure Tips
Keep your aperture wide open and your ISO as low as possible. Once satisfied with the ISO, you can adjust the shutter speed and aperture. Consider these settings:
- Aperture: Start with the smallest F/number to capture more light and adjust accordingly.
- Shutter speed: You can use a fast shutter speed with the widest aperture and adjust the speed depending on your chosen light source.
- Metering: In auto exposure mode, use exposure compensation and leverage spot metering. This setting calculates the exposure using a small area and ignoring the dark background, considering only the subject.
- Histogram: Monitor your histogram to ensure you are not clipping the highlights or shadows.
- Manual mode: Shoot in manual mode to fully control the exposure settings and fine-tune the image’s brightness and sharpness. Store your pictures in RAW format so that the camera doesn’t make any adjustments to the image while saving, giving you more flexibility in post-processing.
Post-Processing Low-Key Images
Post-processing is where you can refine your low-key photos. Here’s what to focus on:
- Brighten subject: Adjust exposure, highlights, and whites.
- Adjust white balance: It tends to be too cool if using flash or too warm if using indoor lighting.
- Colors: Use the hue, saturation and luminance (HSL) controls to shift colors and create a playful contrast between cool and warm parts.
- Vignettes: Use a radial filter to create vignettes
Optional: Convert to black and white for dramatic effect. Monochrome naturally accentuates the contrast between light and dark to make underlit images more compelling.

Print and Frame Photos With Tribeca Printworks
At Tribeca Printworks, our premium printing services ensure your photos retain every subtle detail and tonal nuance. Our custom-made frames add a touch of elegance that complements the image’s mood.
Transform your low-key masterpieces into museum-quality prints with Tribeca Printworks. Upload your photos for printing and discover the perfect framing options to showcase your art.
